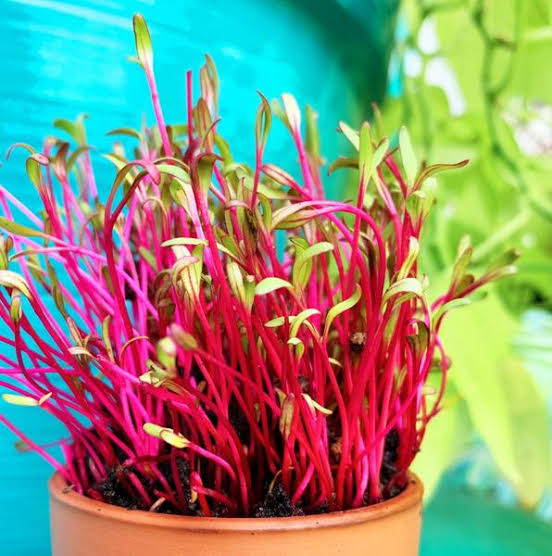
Microgreens are young vegetable greens that fall somewhere between sprouts and baby leaf vegetables. Microgreens are a tender form of green leafy vegetables, herbs and pulses. These are approximately 1–3 inches (2.5–7.5 cm) tall.
They have an intense aromatic flavor and concentrated nutrient content and come in a variety of colors and textures.
They are great source of antioxidants, their nutrient content is concentrated, which means that they often contain higher vitamin, mineral and antioxidant levels than the same quantity of mature greens. According to research nutrient levels in microgreens can be up to five times higher than those found in mature greens.
Key nutrients present are ascorbic acid (vitamin C), tocopherols (vitamin E), phylloquinone (vitamin K), and beta-carotene (a vitamin A precursor), plus other related carotenoids in the cotyledons.
Popular microgreens include:
*Aamaranth
*Basil
*Broccoli
*Alfalfa
*Arugula
*Mustard
*Beet
*Parsley
*Sunflower
*Brussel Sprouts
*Cabbage
These seedlings of vegetables, herbs and grains are harvested 7 to 14 days after germination and are packed with a wealth of minerals, vitamins and health-promoting nutrients that make them the superfood that they are.
*5-7 times more nutritious than fully grown vegetables
*Packed with antioxidants and healthy nutrients
*Rich source of vitamin A,B,C, E and K
*Abundant in phytonutrients that prevent diseases and infections
There are many ways to include microgreens in your diet.
They can be incorporated into a variety of dishes including salads, wraps and sandwiches.Never cook your microgreens. Always eat them raw. They are delicate in nature and the moment you expose them to heat, they start losing their vitality and nutrition.
How to grow microgreens?
1) Pick a few microgreen crops that are universally liked. Basil, amaranth, mustard and sunflower are great ones to start out with.
2) Mix your soil. The easiest thing to plant them in is compost or coconut coir.Compost will provide your seeds with the nutrients they need to germinate and grow, and is easy to get hold of. Coconut coir is a good alternative to soil.
3) Spread your seeds as evenly as possible, using around 1oz per tray unless you’re growing a larger seed like sunflower.
4) Mist your seeds lightly, then cover with lid
5) Check on your tray and mist daily.
6) A couple of days after your seeds have germinated, take off the blackout dome and expose them to the light. It’s time for them to green up.
7) Around a week after you uncover your trays, they should be ready:)
